[, music, ], Hey guys, It’s Becky with Design Bundles – and I am here today to welcome. Ideally all my beginners. We are going to talk about using SVG files, PNG files and JPEG files. Okay, Now those can be quite confusing on what you should use when you should use it, how you should use it that sort of thing – And we are here to tell you how to do that in Cricut Design, Space
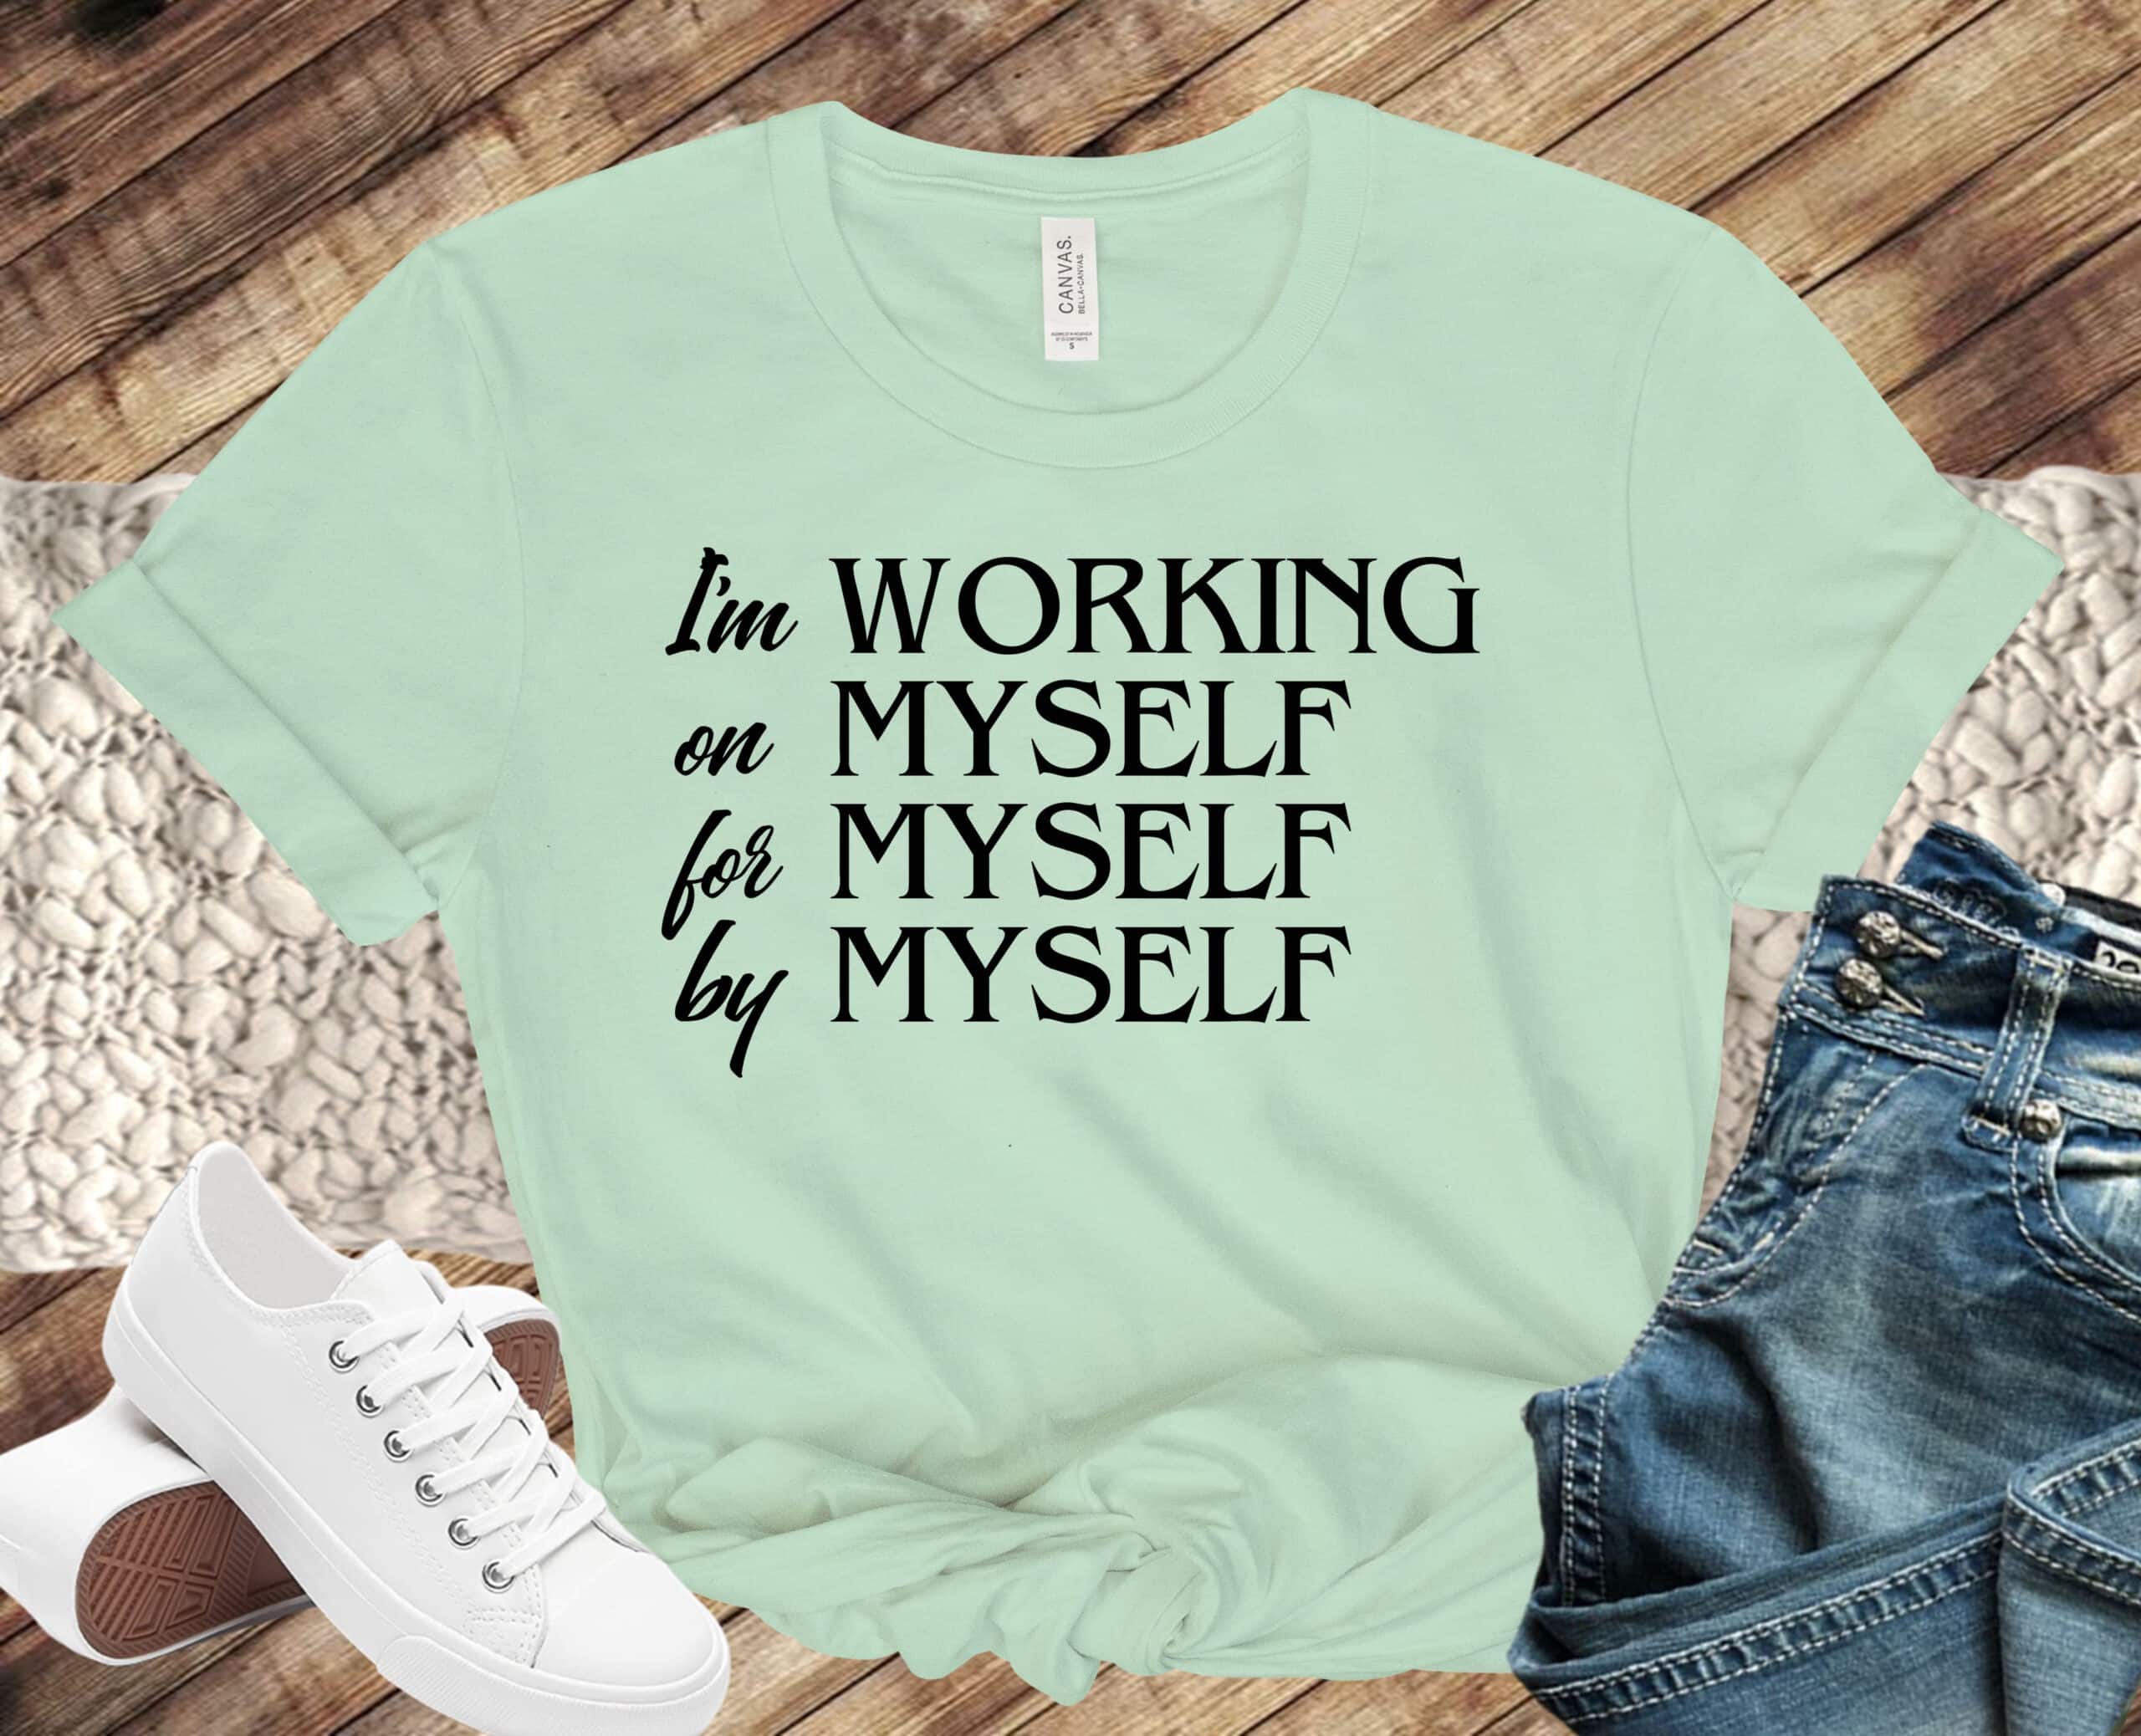
So, let’s go ahead and jump on over to the software and get started Okay guys. So here we are on designbundles.net And one thing I wanted to show you real quick. If you didn’t know, Design Bundles has a really awesome library of free designs and that’s where I’m going to score my design today, I’ve already scouted it out, and I know it’s down here at the bottom.But. It totally describes how I am feeling
And it’s a nice one, color design, so it’ll give us. You know better material to work with as a beginner Okay. So I’m just going to click on the image And it will tell me it has an SVG file, a DXF file, a PNG file and an EPS file. So I’ll just download now And of course it will tell us about the latest bundle, which is always awesome to check out
Now, once that has downloaded, I am on a PC, so I get this little bar down here at the bottom. I can open my recently downloaded file and I need to Extract All You cannot use files that are in a zipped format, So we’re going to unzip them so that they’re easily accessible. Now, let’s jump over to Cricut Design Space, and I will tell you all about using these files in your software
Now, once you get over to Cricut Design Space, this is just the homescreen And we will just click on New Project Now. That is where your projects will save. If you choose to save them in the software Once you’re here, we can go to Upload, And this actually has a lot of really good information to pay attention to
It will tell you what types of files can be used in your software, So we have a JPG GIF, PNG, Bitmap, SVG or DXF, And then of course, if you wanted to use patterns those are over here, But we’re not going to talk too much about those. Today, Just know that this is also where you go to upload Pattern Fills
So we can click Upload Image and the first one that I’m going to talk to you about is SVG, So we will go to our Downloads folder scroll up here is the original zipped folder Here is the unzipped folder, We’ll double click on that and we can Access all of the file types that are contained with that free downloa, okay, So, as promised, we have the DXF the EPS, the PNG
This is going to be the SVG And then, of course, there’s some other resources for you to check out here, such as the Premium License, which will tell you what you are able to use this file for.So I’m going to go ahead. Now I told you this was the SVG. It is listed as a chrome, HTML document. That’S okay.
That is because SVG files will natively open into an internet document, but because we are opening these from within Cricut Design Space, I promise everything is going to come over just fine, So click on that one and choose Open And everything comes over just the way. It should Now you’re seeing this checkered background. This will be important later, but just know that for an SVG file, your entire background should be checkered.
And then, of course, you can change the image name if you’d like You can also add some tags, because this is going to save to your library. So you would be able to type in any tags that you want and when you search a Library those tags will come in handy.So. I will choose Save And now you’ll see that our SVG file is right here.
I can just click on it. It highlights in a green outline, and I can choose Insert Images Now once the image populates into the Design Canvas it comes in at whatever size it comes in at So you will need to size it from here which is completely fine. I promise it’s not a hard thing to do.
You can zoom out a little bit if it comes in bigger than your screen. If you want to, you, can use the handle down here at the bottom right and size it by hand. If you already have a size in mind, then you can use the size menu up here. So, for example, if I wanted to put this on a T-shirt, I were an adult large, so I’m going to do 11 inches wide and it will automatically update to whatever inches high. That equates to So now. With that in place, I can simply click over to Make It, and it is going to be exactly the way that I need it to be.
I can choose to Mirror if I’m working with a material like heat transfer vinyl.Or, I can leave it Regular if I’m working with something like adhesive vinyl. That’S completely up to you. Now I’m going to choose, Cancel We’re not actually going to cut this today, But just know that that’s where it is
Now, if, for some reason, this were to come over into a format that when you went over to Make It and everything was split into different pieces, you may want to pay attention to your Attach and Weld down here at the bottom. Usually SVG files do not do that, but just know that that is an option. If you click over to Make It – and it doesn’t look right, come back over and attach your file together, And that will keep it all where it needs to be Now we’re going to move on.
I’M going to delete this from our canvas so that we can check out some of the other file types included in the download, So I’m going to go back to Browse. Luckily, it opens up in the same folder, So that makes it super easy and we can choose the PNG Now. The PNG and the JPG are usually pretty similar.
Given an option, I usually work with a PNG because a lot of times the PNG will already have a transparent background. So if I hit Open there you go, We talked about having that checkered look again For this one. You can choose Simple: it’s not that big of a deal, But just know that there are different image types that you can work with.
So if, for some reason one doesn’t look correct, then you can click over to Moderately Complex or Complex and take a look at the different options. So I’m going to keep it Simple and I’ll click over to Continue. Now, like I said this came over with a transparent background, which is really really great, But we will take a look at the JPEG formats and explain a little bit about what you would do if it did not have a transparent background.We’ll get to that next.
But I’m just going to click Continue and you’ll see it gives me an option to do a Print and Cut or save as a Cut. Now, if you want to learn how to do the Print and Cut as such as stickers or you want to print an image, then we do have a video on working with that already, That’s not what we’re going to do today. We are using these strictly as Cut files, so I can click over here and simply click Save And now I basically have a perfectly good Cut file.
And again I can size it to whatever I need it to be, and there we go So now it looks the same as the SVG format did, but let’s talk about why you need to know how to work with PNG files. First of all, if you were using clipart, That is very important to know how to do this, because clipart does not usually come over in an SVG format. Okay, Also, if you are using any type of software where you’re creating your own images, this will also be important because sometimes designing software doesn’t allow you the capability to move over as a SVG file, either
So just know that these are options available to you for the different file formats that you’re going to use And if I click over to Make It you’ll see that it’s going to cut out just the same as the SVG file did We’re lucky that Design Space Does the heavy lifting on the back end And especially for a PNG file that has a transparent background, then that just means that there’s nothing additional that we really need to do So. I’M going to delete this and we will jump over to the JPEG format.
So we’ll go back to Upload, choose Upload Image and choose Browse Now, if you’re ever looking at these – and you are not sure which format you need, you can hover over them and see. That is our JPG. This is the PNG that we’ve already worked with. This is the JPG And not that you need to, but I just want to show you what working with a JPEG is going to look like, because this is something useful for importing images into your software.
Now again, I can choose Simple: Moderately Complex or Complex.We’ll: go with the Complex this time. Just that way, I can show you more about the background I’m going to hit Continue Now. This is what I wanted you to see with the JPG. It does not have a transparent background. The background is white and it’s indicated by not seeing the checkered grid.
So what I can do is, I can simply click in the areas that I want to eliminate and design space is going to take care of those areas. For me Now that is really really useful And, unlike other softwares, that I’ve worked with, including like Silhouette Studio. This is a lot easier than trying to use the Trace or anything like that Now. This is easy for black and white images and simple clip art, but just know that you’re not going to get like super awesome results every time.The, more complex, the image that you import, the more modifying that you’re going to have to do.
So you may have to be more patient and work with more detail if you’re working with a background that has a lot of different shades of colors and that sort of thing, So let’s go ahead and click Continue Now for this one, just like with a PNG. I can do a Print and Cut or Cut image. We are working with the Cut image, so that’s good and I’m going to hit Save Now you can see. I have three identical Saves here: that’s okay!
I can take those out later, But it again imports the same as the others Just had to take that extra step to remove the background So to go ahead and summarize it all for you. This is just a very basic overview of using different file types for your software. We covered SVG, PNG and JPG, and that is the order that I would recommend, searching and using files.
If an SVG file is available, it’s going to be the easiest, Just open it in your software piece of cake. If an SVG file is not available, then we will use the PNG because a lot of times those will come with the transparent background And if a PNG is not available, then we will use the JPG and that’s okay. You know those are just the three most common file types that you can work with.
The JPG is just going to take the most work on your end, to get it into a cutable format. So hopefully you found these three tips useful, and it gives you just a simple explanation of being able to use these different file types in your Cricut Design. Space.So, wasn’t that a super easy That was probably one of the most useful tutorials you will come across, Not because I’m bragging on myself, but because, knowing how to use those file formats is really really important for your crafting
So if you guys have any questions about anything that we covered or anything that we didn’t make sure leave them in the comment section below. I do love to hear from you guys and I personally respond to those. So you know heart Thanks again and make sure you Subscribe to the channel. We always have a lot of fun playing for you right around the corner.
We’Ll see you next time, [ music, ], Read More Dollar Tree Mugs With Cricut
Read More: How to Cut Faux Leather on a Cricut

