Hey friends, Welcome back to my channel You arecrafting with Kim Byers, and today I’m going toteach you how to make a football t-shirt I’mgoing to teach you how to make a cross-countryt-shirt, I’m going to teach you how to makefootball and cross-country shirts for the family.
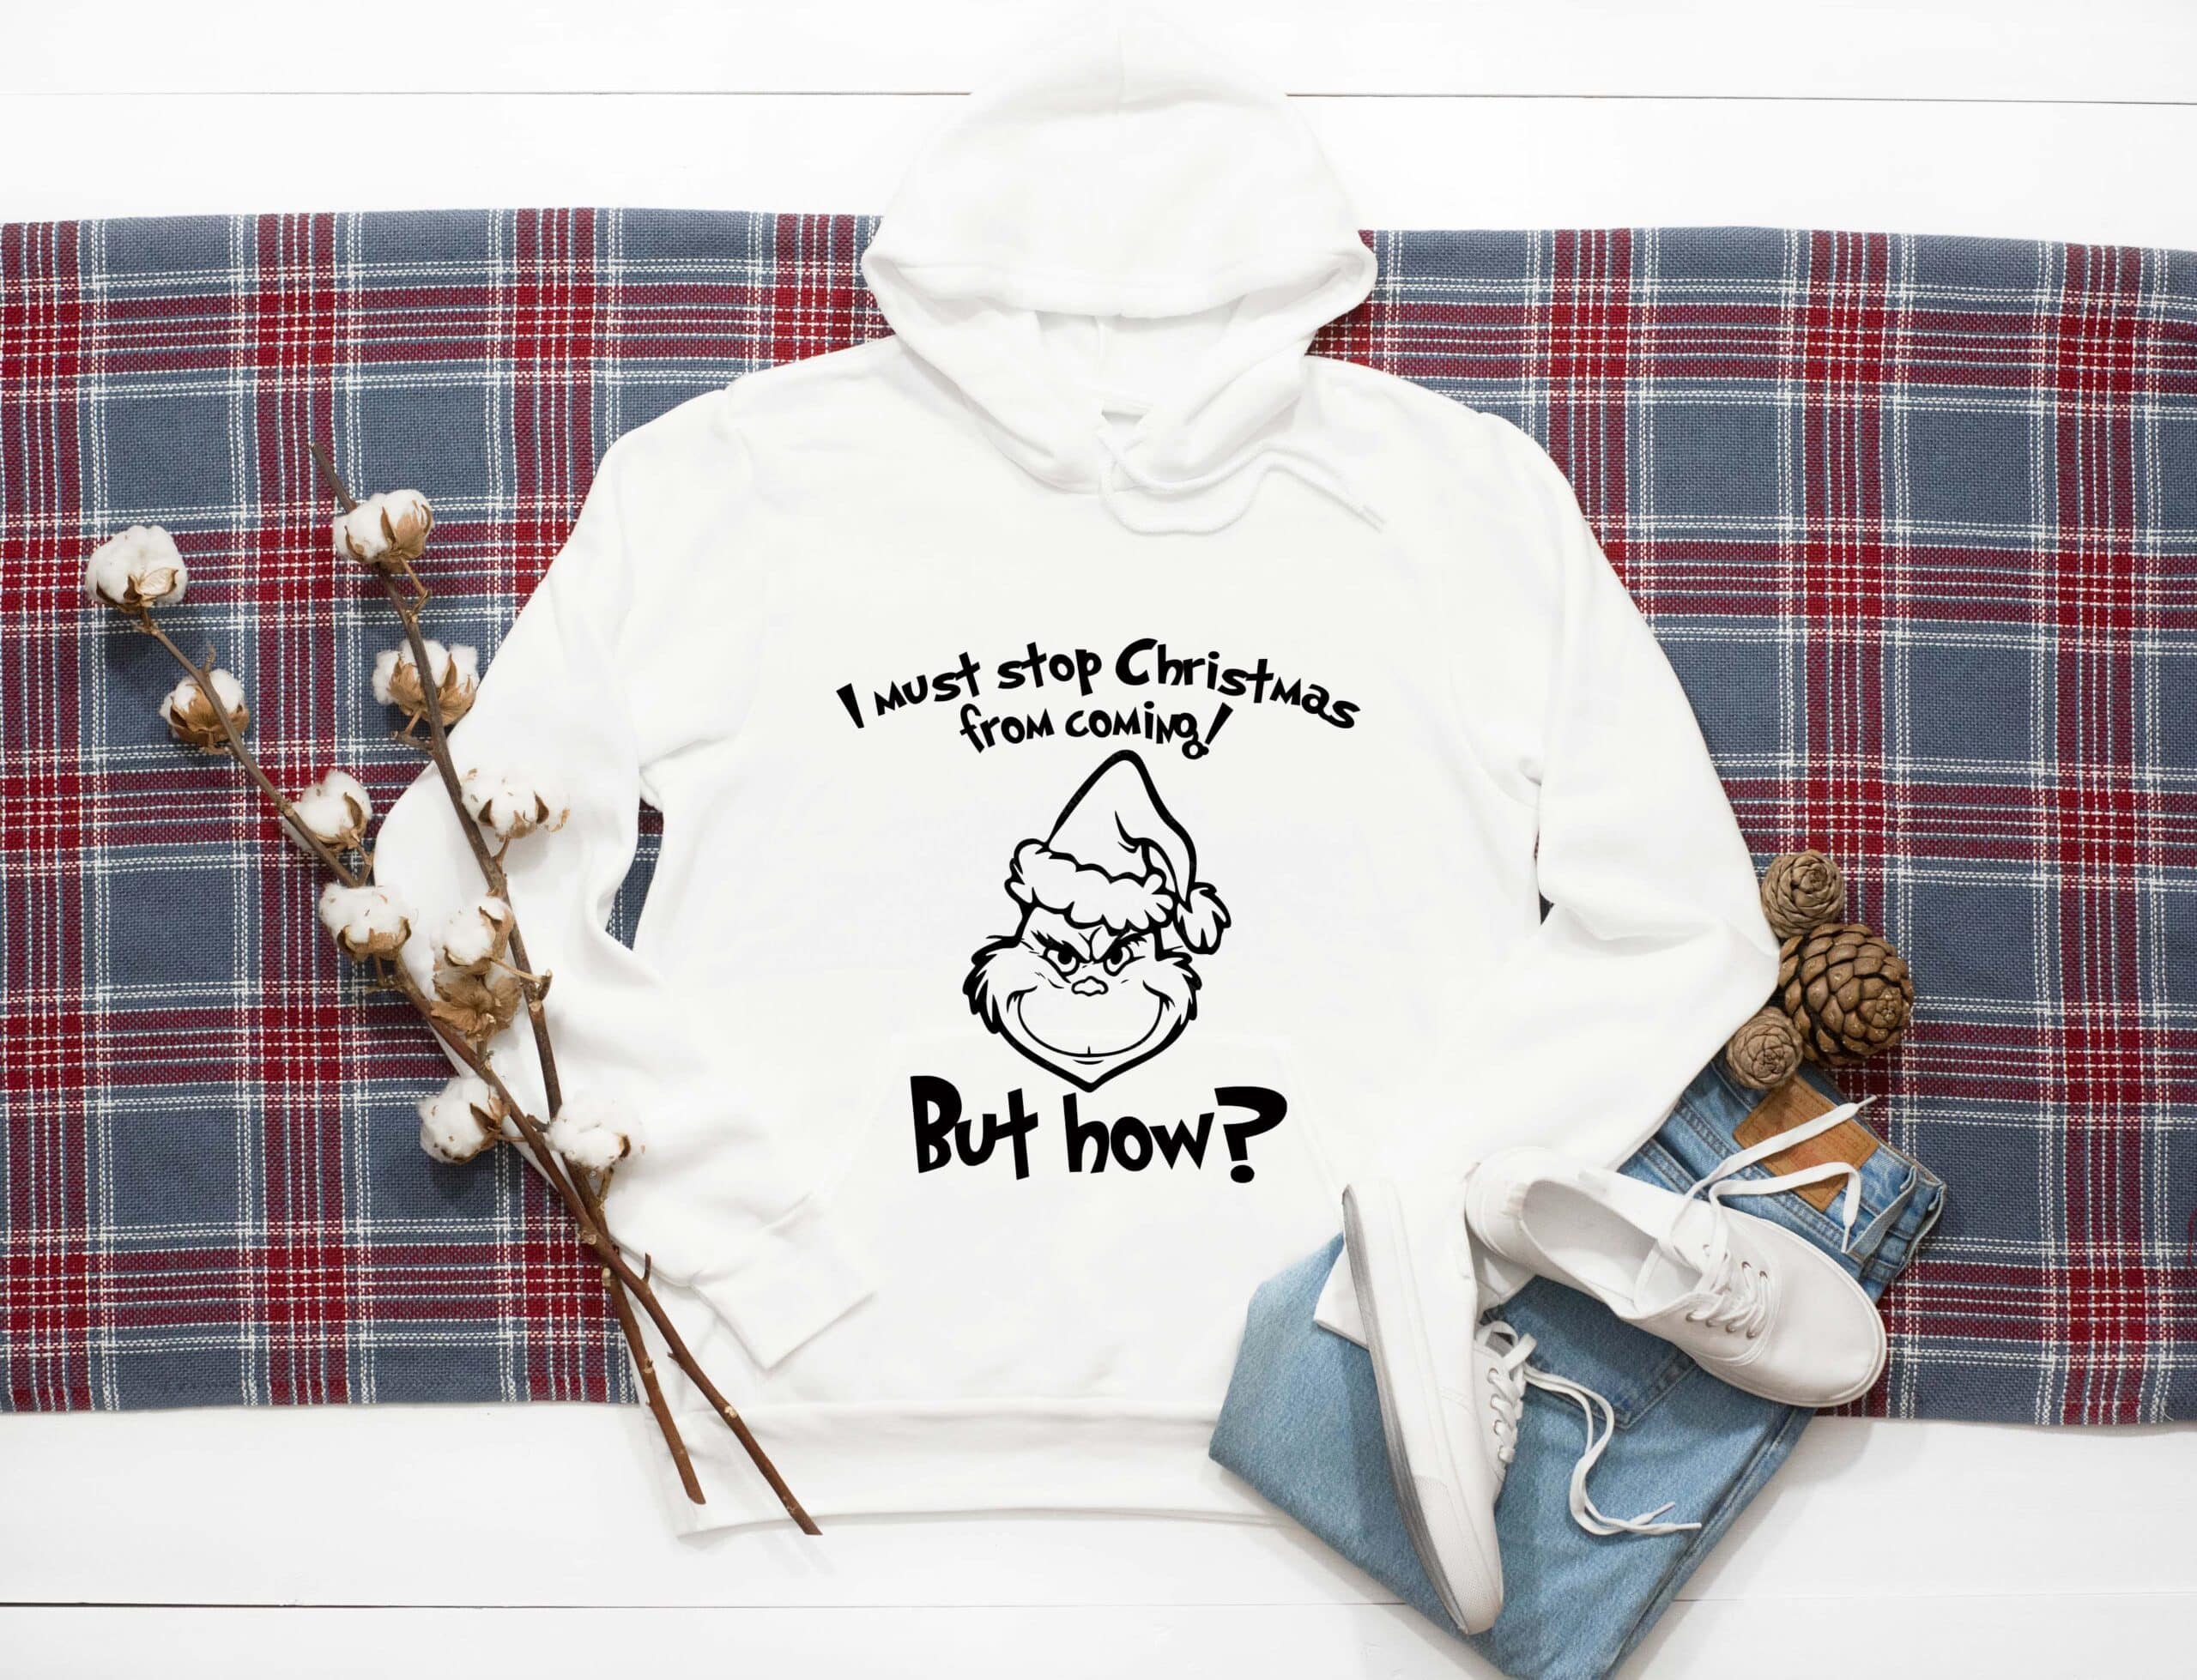
So if you guys are like me, your fall is consumedby sports. I love it, love it love it. My kids arecross-country runners – I am a cross-country coach.I – have tons of friends that are football momsand candidly I used to be a football mom usedto, be a basketball mom used to be a baseball. Momwe played all the sports and now that we’ve gottenolder they have really honed in on the sport. Thatthey are extremely successful in so we are goingto make t-shirts for our fall sports. We, like towear our cheer on our shirts, don’t we so let’shop over to cricut design space. I have a coupleof free cuts that i designed for you so we’llgo over there i’ll show you how to pull them. Ini’Ll show you how to change the colors on themadd. Your kid’s name put on their jersey numberanything that you want to do to it and then we’llhop over to the craft table and put it togetherso, let’s get going okay. So here we are in cricutdesign space, and these are the two designs that icreated for you. So football is my favorite seasoncross country is my favorite season. You can modifyand tweak these designs to be pretty muchanything that you want them to be so if youhave never uploaded designs to cricut designspace, the little upload button is right. Hereand. I am going to put a video up above a reallyquick video that just shows you how to do thatso once you’ve brought them in, though i wantedto show you all the things you can do to thisyou can eliminate pieces of it. You can changecolors to it. You can also add text to it: youcould even change it to say you know fallis my favorite season and put pumpkins on itso. Here’S how you would do that so, let’s usethe football as an example we’ll pick the wordseason to change the color, really simple, youcan just go up and change that color to whateveriron-on. You have in your house. The next thing youcould do is, you could say you know, football is myfavorite season and then add your child’s numberso. Let’S just add some text there. I like varsityletter for this type of collegiate kind of like orsports um design, and so you can just choose thatand. Then you can add anything you want to it. Soyour child’s number is 17, so you could put thatwithin the football you could. You know, move thingsaround if you want to so you can do it that way. Oryou could say you know what i really want. Thisto say: fall, i don’t want to have anything to dowith football right now. I want it to say, fall soi’m going to turn off football and turn off theshape of the football and then i’m going to gointo images and i’m going to search for pumpkins cute little pumpkin insert that make it a littlebit, smaller and so now pumpkin is my Favoriteseason, so you can literally do everything tothis design. Now i personally am going to usethe cross country as my favorite season and thisis the t-shirt i’m going to be making today umand i’m just going to leave it in all black butif. You like this design or if you want to lookat some other designs. I want to show this to youguys, because this is so so easy. You can look foron, design, bundles and i’ll, put links to this downbelow, but you can get bundles for like two dollarsand fifty cents, five dollars that has all kinds ofdifferent designs in them and then you do exactlywhat. I just showed you how to do, which is tweakingand. Changing it to be what you want it to beso when you look at these designs, don’t justsee! You know, game day vibes. You might want tosay game day and then take out the word vibes youcould. You know change that to something else: youcould um, that’s my bro or you could say that’smy son and you could put their number on thehelmet or you could just eliminate everythingand have only the helmet do not be limited. Bywhat you see on the screen. Cricut design, spacetutorials you’re going to be able to do somuch with all of these different designs: okay, soback to our designs, so i am actually going to turnoff um, all of the football or the pumpkin elementsright. Now, and then we are just going to work. Withthe cross country, so now that you have your designexactly, the way that you want it, the next thingto do is to measure your t-shirt and determine howlarge. You want that design to be across your shirti, usually like my designs to be about eight incheswide, and so i am going to just grab this and pullit out to eight now. If you want to be extremelyprecise about it, you could go up into um sizeand, just make sure your little lock is done. Sothat everything moves, proportionate and so nowmy design is 8 by 7
2, so that’s about perfect okayso. The next thing that we want to do is we wantto choose our machine, and so you can use all ofthe machines for this and by the way you can usethe joy for all my joy people out there. You wouldliterally just take this design and peel it apartso. You would be able to just get cross. Countryjust get is my favorite season and i’ll puta video up above for contouring, so that you cansee how to do that. It’S actually just a couple ofclicks. So it’s not hard okay, so the final thing wewant to do before we move on to the mat, is we wantto select our design and we want to make sure thatthe attach button? Is done so i’m just going todetach it. So you guys can see i’m going to selectthe entire thing. We’Re going to attach it and whatthat’s going to do. Is it’s going to send it? Tothe mat all together. So now, let’s hit make it we’re going to cut this all at one time. One colorso we’ll mirror this because it is an iron-onand, then hit continue once it finds our maker. The next thing that weneed to do is choose our iron-on, so sports flexis great for polyesters and dry fit. I am goingto be using everyday iron-on today, but you havefoil, and you have glitter and all the differentchoices so get creative with your design. Okay, solet’s go ahead and hit the craft table here, weare on the craft table, and these are the thingsthat we’re going to be using today. So i have myt-shirt. I picked this one up from hobby lobbyum, so this is like a three-quarter sleeve, like abaseball, tee um, but i use it for all the sports ilove these tees. And then i have my easy press: 2 asmy heat source with my mat and then i have all mydifferent iron-ons. So i’m going to be using blackin every day today for this particular projectbut, the foil is absolutely gorgeous. Then youhave glitters. You have sports, flecks and youhave. All of these different patterns, so i thinkthis one, would be great for like the football butthen. You could also use this if you wantedto change that up, you know and do pumpkinsor something more fall related. So oh and don’tforget a clear acrylic ruler and your weedingtool okay. So, let’s move everything out of the wayand, we’ll put this on the mat and get it over tothe maker. So i use my straight edge cutter fora lot of things um, and so today, i’m going to useit for this remnant piece. So i’m hoping thatit’s going to be big enough, and so the nicething about the cutter is. It has a ruler on it, inboth directions, as well as the cutter and keepseverything straight. So i need eight and a halfby, seven and three quarters. So, let’s just seethis is just over eight and a half so that’sgoing to work perfectly and then obviouslyit’s 12 inches long. So let’s go ahead. I’Mjust going to leave this on here and then wecan fussy, cut and trim out the savings, so let’sgo sideways and go to seven and three quarters and we just close and trim off. So this is ourextra, so we’ll put that aside for another projectand so with iron. On you want to put glossy sidedown matte side up because remember we’re cuttingit backwards, so we’ll just place it on our mat, inthe corners and you can use your scraping tool toput this down or even a brayer, but i think thatthis is going to be sufficient for Today my mat ispretty sticky, if you are having trouble, you knowwith, your mat, losing its stickiness, put a littleuh scotch tape in the corners okay, let’s go to themaker, so we’ll just feed the mat under each side and once it flashes, select goso now with our design Back on the craft tablewhat we want to do is we want to weed out ourdesign and sometimes it’s easier to leave itattached to the mat. If you, you know struggle withholding the whole thing, so sometimes i just leaveit on the mat and start to remove the centers. But if you’re looking to save or trim offmaterial go ahead and take it off the matand, so you could, you know, save little itsy bitsypieces. There’S not a lot left on this um there’s acouple corners and things like that, but i’llbe, honest with you. I use the little piecesfor small elements of designs all the time, so i’man advocate of saving everything you can now thatyour design is fully weeded. What we want to do iswe, want to take our ruler and make sure that we’recentering our design exactly where we want it tobe, so my design is roughly eight inches. Acrossthis area of my shirt is 16 inchesso. My center point would be eightand, so the nice thing about the curve and thelettering is you can kind of tell where the centerpoint is right. So 8 right here would be my centerpoint right where that c is, and so i can adjust it just a little bit and then i can even use my rulerto see that it’s you know a straight line acrossand. So i think this is about where i want. Mydesign to be so, then i can take my ruler outand. The nice thing about iron-onis. It’S kind of sticky right, soonce, you’ve placed it it’s there and so thenyou can go ahead and use your easy press. So i’vechecked the easy press, heat guide and it says thati need 315 degrees for this polyester blend andfor using my pressing mat and for this type ofiron-on, so that i’m just going to place it downand. Then we’re going to do 30 seconds on thisside and we’ll flip. The shirt and do 15 secondson the other. So now we pick it up, move itback to the cradle and, let’s flip our shirt, make sure that you don’t have any wrinkleseverything is perfectly flat and then we’re goingto put it back on top for 15 seconds. Okay, so nowwe put it back on the cradle, we’ll flip our shirtback over and we’ll give it a few minutes to cool and then we’ll peel it off. So when you peela design for one, this needs to be cool to thetouch, for this particular type of material and sowe peel from a corner and just go slow and steady okay, so i hope you loved that i hope you hop downbelow and grab the free cut. I put links down belowfor everything that we use today and even someof the things that we didn’t use that i thinkyou might really love like some of the patternedum iron-on designs and things like that and um ifyou have any questions. If anything was confusingtoday. I want you to craft with confidence i wantyou to enjoy crafting having fun. I love to craftobviously um, but i love sharing it with my momand, my friends and i love sharing it with youguys. I want you to have fun doing it and not getfrustrated. So leave me questions down. Belowi’Ll do my very best to help you out and ifyou haven’t already hit that subscribe button. Andjoin me for all my future. Videos see you next time Read More FREE SVGS How to Use Craft With Sarah Free SVGs
Read More: Free Inspirational Bundle SVG Files