Introduction to SVG Files and Cricut Machines
SVG files, or Scalable Vector Graphics, are a popular file format used for digital designs and graphics. They are widely used in various industries, including graphic design, web development, and now, with the rise of DIY crafting, they have become an essential tool for Cricut machine users.
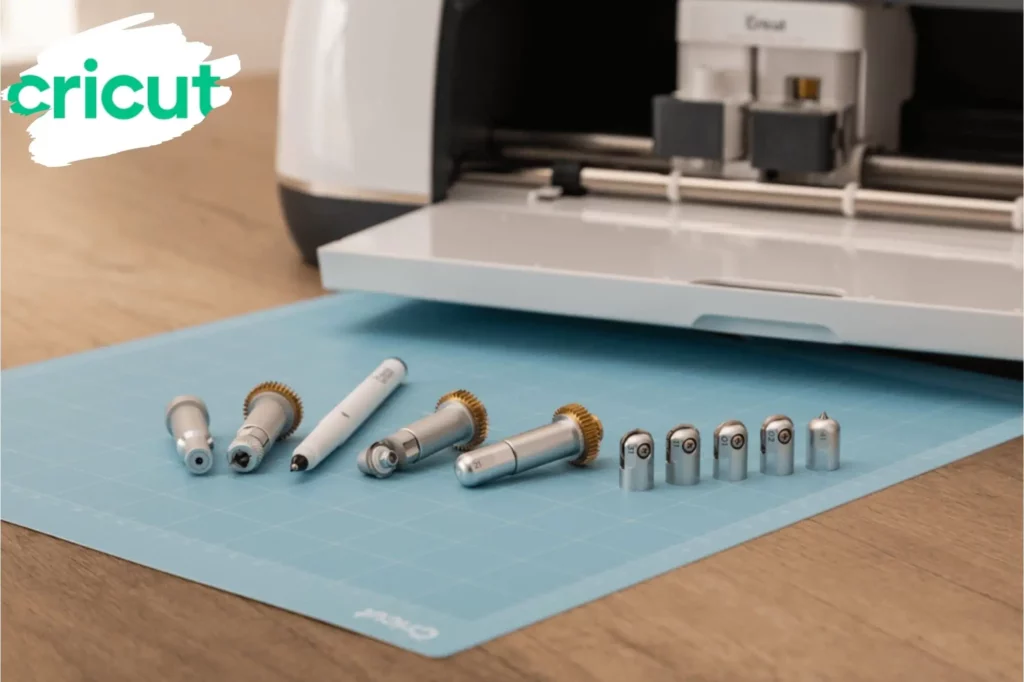
Cricut machines are cutting machines that can cut a wide range of materials, such as paper, vinyl, fabric, and even wood. They are popular among crafters and hobbyists for their versatility and precision. By using SVG files with a Cricut machine, users can create intricate and detailed designs that can be cut with precision and accuracy.
The benefits of using SVG files with Cricut machines are numerous. Firstly, SVG files are scalable, which means they can be resized without losing any quality. This is particularly useful when working on different projects that require different sizes of the same design. Secondly, SVG files are vector-based, which means they are made up of mathematical equations rather than pixels. This allows for smooth lines and curves, resulting in clean and professional-looking cuts. Lastly, SVG files are compatible with a wide range of software and devices, making them easy to use and share.

Understanding the Benefits of Using SVG Files with a Cricut Machine
Using SVG files with a Cricut machine offers several benefits that make it a preferred choice for crafters and DIY enthusiasts. One of the main advantages is the versatility it provides. With SVG files, users can create designs for a wide range of projects, from personalized gifts and home decor to custom clothing and accessories. The possibilities are endless, and users can let their creativity run wild.
Another benefit of using SVG files with a Cricut machine is the precision it offers. The cutting process is controlled by the machine, ensuring accurate and consistent cuts every time. This is especially important when working on intricate designs or small details. The precision of the Cricut machine combined with the clean lines of SVG files results in professional-looking finished products.
Ease of use is also a significant advantage of using SVG files with a Cricut machine. The process of uploading, editing, and cutting SVG files is straightforward and user-friendly. With the help of Cricut’s Design Space software, users can easily import and organize their SVG files, make adjustments to the design, and then send it to the machine for cutting. The intuitive interface and step-by-step instructions make it accessible to beginners and experienced crafters alike.
Preparing Your Cricut Machine for SVG File Uploads
Before you can start using SVG files with your Cricut machine, you need to ensure that your machine is ready for file uploads. Here is a step-by-step guide to preparing your Cricut machine:
1. Update Firmware: Check if there are any firmware updates available for your Cricut machine. Firmware updates often include bug fixes and improvements that can enhance the performance and compatibility of your machine. Follow the instructions provided by Cricut to update the firmware.
2. Update Software: Make sure you have the latest version of Cricut’s Design Space software installed on your computer or mobile device. The software is essential for uploading and editing SVG files. Check for updates and install them if necessary.
3. Connect Your Machine: Connect your Cricut machine to your computer or mobile device using the provided USB cable or via Bluetooth. Follow the instructions provided by Cricut to establish a connection.
4. Calibrate Your Machine: Calibrating your Cricut machine ensures that it cuts accurately. Follow the instructions provided by Cricut to calibrate your machine. This process may vary depending on the model of your machine.
Once you have completed these steps, your Cricut machine will be ready to accept SVG file uploads and start cutting your designs.
How to Find and Download SVG Files for Your Cricut Machine
Now that your Cricut machine is prepared, it’s time to find and download SVG files to use with it. There are several options available for finding SVG files, both free and paid. Here is an overview of where to find SVG files for Cricut machines:
1. Cricut Design Space: Cricut’s Design Space software has a built-in library of SVG files that you can access. Some of these files are free, while others may require a purchase. Browse through the library and choose the files that suit your project.
2. Online Marketplaces: There are several online marketplaces where you can find SVG files for purchase. Websites like Etsy, Creative Market, and Design Bundles offer a wide range of SVG files created by independent designers. These files are often unique and can be customized to fit your project.
3. Free SVG Websites: There are also websites that offer free SVG files for personal and commercial use. Websites like Freepik, Pixabay, and SVGcuts have a vast collection of SVG files that you can download and use with your Cricut machine. Make sure to check the licensing terms for each file before using it for commercial purposes.
To download SVG files, simply click on the download button or link provided on the website. The file will be saved to your computer or mobile device, ready to be uploaded to Cricut Design Space.
Tips for Choosing the Right SVG Files for Your Project
When choosing SVG files for your Cricut machine, there are a few factors to consider to ensure the best results. Here are some tips for choosing the right SVG files for your project:
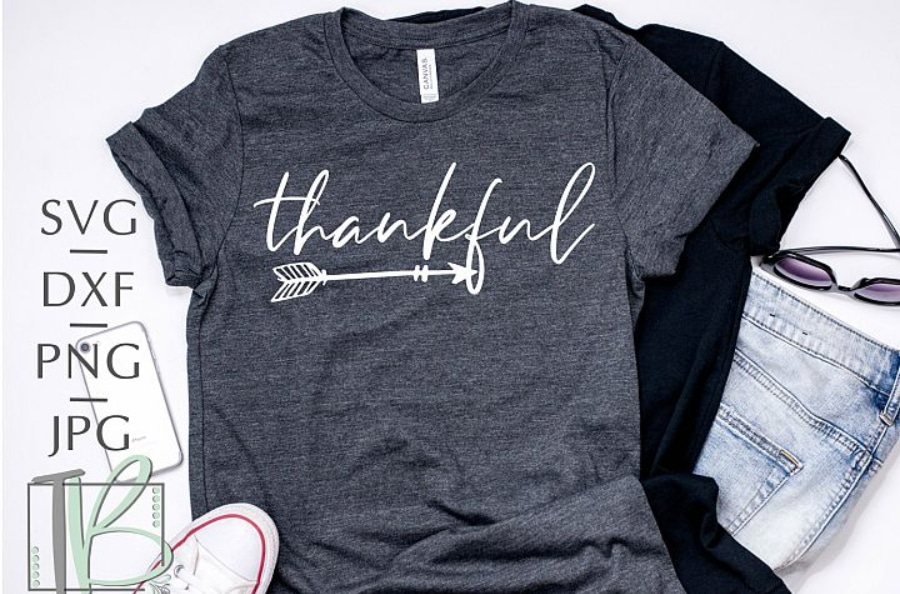
1. File Type: SVG files come in different file types, such as .svg, .dxf, and .eps. Make sure to choose a file type that is compatible with your Cricut machine and software. Cricut Design Space supports .svg files, but it can also import .dxf and .eps files.
2. Size: Consider the size of the design and the material you will be cutting. If you are working on a small project or using delicate materials, choose an SVG file with intricate details that can be cut accurately. For larger projects or thicker materials, opt for designs with bolder lines and simpler shapes.
3. Complexity: Assess the complexity of the design and your skill level. If you are a beginner, start with simpler designs that are easier to cut and assemble. As you gain more experience, you can gradually move on to more complex designs.
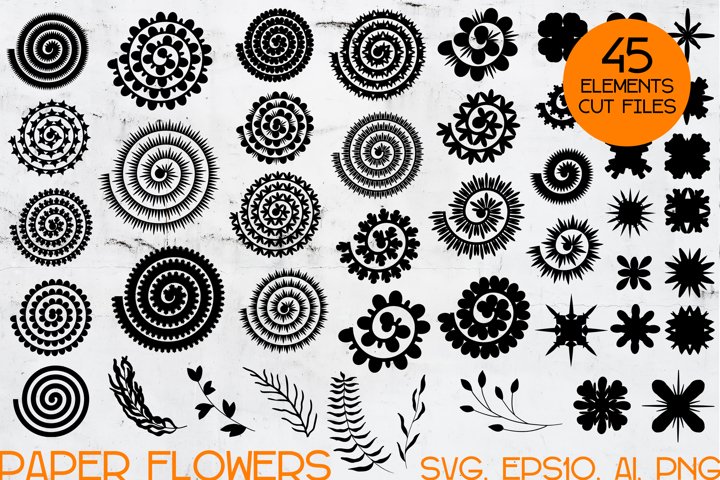
4. Personalization: Look for SVG files that can be customized to fit your project vision. Some files may come with editable layers or separate elements that you can modify or rearrange. This allows you to add a personal touch to your designs and make them truly unique.
By considering these factors, you can choose SVG files that are suitable for your project and ensure a successful outcome.
Uploading SVG Files to Your Cricut Design Space
Now that you have downloaded SVG files for your Cricut machine, it’s time to upload them to Cricut Design Space. Here is a step-by-step guide to uploading SVG files:
1. Open Cricut Design Space: Launch the Cricut Design Space software on your computer or mobile device. Make sure your Cricut machine is connected and turned on.
2. Click on “New Project”: In the Design Space dashboard, click on the “New Project” button to create a new project.
3. Click on “Upload”: On the left-hand side of the screen, click on the “Upload” button to access the upload menu.
4. Click on “Upload Image”: In the upload menu, click on the “Upload Image” button to start the file upload process.
5. Select the SVG File: Click on the “Browse” button to locate the SVG file on your computer or mobile device. Select the file and click on “Open” to start the upload.
6. Edit and Save: Once the file is uploaded, you can make adjustments to the design if necessary. You can resize, rotate, and change colors using the editing tools provided. Once you are satisfied with the design, click on the “Save” button to save it to your Design Space library.
7. Insert the Design: To insert the design into your project, simply click on it in the Design Space library and drag it onto the canvas. You can then resize and position the design as desired.
By following these steps, you can easily upload SVG files to Cricut Design Space and start working on your project.
How to Edit SVG Files in Cricut Design Space
Cricut Design Space offers several editing tools that allow you to customize SVG files to fit your project needs. Here is an overview of how to edit SVG files in Cricut Design Space:
1. Resizing: To resize an SVG file, select the design on the canvas and click on the resize button. You can then drag the resize handles to make the design larger or smaller. Hold down the shift key while resizing to maintain the aspect ratio of the design.
2. Rotating: To rotate an SVG file, select the design on the canvas and click on the rotate button. You can then drag the rotate handle to rotate the design clockwise or counterclockwise. Hold down the shift key while rotating to rotate the design in 45-degree increments.
3. Changing Colors: To change the colors of an SVG file, select the design on the canvas and click on the color button. You can then choose a new color from the color palette or enter a specific color code. This is particularly useful when working with multi-color designs or when you want to match the design to your project theme.
4. Welding and Grouping: Cricut Design Space allows you to weld or group multiple elements of an SVG file together. Welding combines overlapping elements into a single shape, while grouping keeps the elements separate but allows you to move and resize them together. These tools are useful when working with complex designs or when you want to create a cohesive composition.
By using these editing tools, you can customize SVG files in Cricut Design Space and make them unique to your project.
Cutting SVG Files with Your Cricut Machine
Once you have uploaded and edited your SVG files in Cricut Design Space, it’s time to cut them with your Cricut machine. Here is a step-by-step guide to cutting SVG files:
1. Prepare the Material: Choose the material you want to cut and prepare it according to the instructions provided by Cricut. For example, if you are cutting vinyl, you may need to load it onto a cutting mat and trim it to the appropriate size.
2. Load the Material: Open the clamp or lid of your Cricut machine and place the prepared material onto the cutting mat. Make sure the material is aligned with the guides on the mat and smooth out any wrinkles or bubbles.
3. Set the Material and Cut Settings: In Cricut Design Space, select the material you are using from the material settings menu. This will automatically adjust the cut settings for optimal results. If necessary, you can manually adjust the cut settings by clicking on the “Edit” button.
4. Send to Machine: Once the material and cut settings are set, click on the “Make It” button in Cricut Design Space. Follow the on-screen instructions to connect to your Cricut machine and send the design for cutting.
5. Load the Cutting Mat: Place the cutting mat with the material onto the cutting mat guide of your Cricut machine. Make sure it is aligned with the guides and press the load button to load the mat into the machine.
6. Start Cutting: Press the start button on your Cricut machine to begin the cutting process. The machine will follow the design and cut the material accordingly. Once the cutting is complete, the machine will unload the mat.
7. Remove the Material: Carefully remove the material from the cutting mat, taking care not to damage the design. Use a weeding tool or tweezers to remove any excess material or small pieces.
By following these steps, you can successfully cut SVG files with your Cricut machine and bring your designs to life.
Troubleshooting Common Issues When Using SVG Files with Cricut Machines
While using SVG files with Cricut machines is generally a smooth process, there may be some common issues that you may encounter. Here is an overview of common issues and tips for troubleshooting them:
1. File Compatibility: If you are having trouble uploading an SVG file to Cricut Design Space, check if the file is compatible with the software. Ensure that the file is in the correct format (.svg, .dxf, or .eps) and that it is not corrupted. You can try opening the file in a different software or converting it to a different format if necessary.
2. Machine Errors: If your Cricut machine is not cutting the design correctly or is producing errors, check if the machine is properly calibrated and updated. Make sure the cutting blade is clean and sharp, and that the material is loaded correctly onto the cutting mat. If the issue persists, consult the user manual or contact Cricut customer support for further assistance.
3. Design Issues: If the design is not cutting as expected or is missing details, check if the design is properly prepared in Cricut Design Space. Ensure that all elements are properly aligned and that there are no overlapping or hidden layers. You can also try resizing or rotating the design to see if it improves the cutting result.
4. Material Compatibility: If the material is not cutting cleanly or is tearing, check if the material is compatible with your Cricut machine. Some materials may require specific settings or additional tools for optimal cutting. Consult the material guidelines provided by Cricut or try using a different material to see if it improves the cutting result.
By troubleshooting these common issues, you can overcome any challenges and ensure a successful cutting experience with your Cricut machine.
Conclusion: The Endless Possibilities of Using SVG Files with Your Cricut Machine
Using SVG files with a Cricut machine opens up a world of creativity and customization. The benefits of using SVG files, such as versatility, precision, and ease of use, make it a preferred choice for crafters and DIY enthusiasts. By following the steps outlined in this article, you can easily find, download, and upload SVG files to Cricut Design Space, edit and customize the designs, and cut them with your Cricut machine.
The possibilities are endless when it comes to using SVG files with a Cricut machine. Whether you are creating personalized gifts, home decor, or custom clothing, SVG files allow you to bring your project vision to life with precision and accuracy. With the


