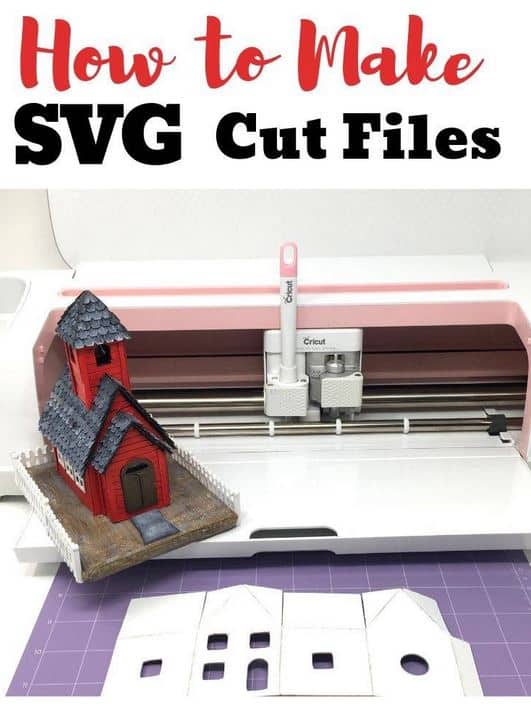
If you’ve ever wondered how to create SVG files for Cricut, you’re in the right place. SVG files (Scalable Vector Graphics) are essential for crafting custom designs that can be cut with precision using Cricut machines. Whether you’re a seasoned designer or just starting your creative journey, learning to make SVG files will open up endless possibilities for personalizing projects like vinyl decals, paper crafts, and more. This guide will walk you through every step of the process using Adobe Illustrator, from setting up your document to saving and uploading your design into Cricut Design Space. By the end, you’ll have all the tools you need to create your own unique SVG files for Cricut with ease. Let’s dive in!

1. Set Up Your Document
To begin to learn how to create SVG files for Cricut, open Adobe Illustrator and set up a new document. Properly setting the artboard is crucial as it defines the boundaries of your design. In Illustrator, go to File > New and input dimensions that align with your project needs. For example, if you’re designing for a Cricut cutting mat, you might want to use the standard 12″x12″ dimensions. Be mindful of the orientation—portrait or landscape—depending on your design’s layout. You can always adjust these dimensions later, but it’s a good idea to start with the correct size to avoid scaling issues. Additionally, consider the measurement units. Cricut Design Space operates in inches, so using inches in Illustrator ensures consistency when you upload the file. If you’re working with intricate designs, zoom in on your artboard to ensure you capture every detail. A well-prepared document is the foundation for a successful SVG file.
2. Design Your Graphic
This step is where your creativity comes to life. Adobe Illustrator offers a vast array of tools for creating custom graphics. Start by using the Pen Tool to draw precise shapes or paths, the Shape Tool to add circles, rectangles, or stars, and the Type Tool to include text elements. If you’re working with images, make sure to vectorize them. To do this, import your image, select it, and use the Image Trace tool followed by Expand to convert the image into vector paths. For Cricut projects, it’s essential to keep your design clean and straightforward since overly complex paths can cause issues during the cutting process. Use the Zoom Tool to inspect the details and ensure all your lines are connected. Remember, Cricut cuts based on vector paths, so avoid raster elements like photographs unless they are vectorized.
3. Prepare the Design for Export
Before saving your file, you’ll need to optimize the design. For text, select all text elements and convert them to outlines by navigating to Type > Create Outlines. This ensures your fonts won’t change or cause issues when the file is opened in Cricut Design Space. For shapes, use the Pathfinder tool to merge overlapping paths into a single unified shape. This is particularly useful when designing layered elements, as it simplifies the cutting process. To access the Pathfinder panel, go to Window > Pathfinder. Also, double-check that all your elements are closed paths, meaning there are no gaps or open shapes, as Cricut will struggle to interpret these. Simplify your paths by selecting them and choosing Object > Path > Simplify. This reduces the number of anchor points, which can improve cutting precision.
4. Assign Colors and Layers
Using colors and layers strategically is critical for Cricut projects involving multiple materials or colors. Assign distinct colors to different sections of your design to represent various materials or layers. For example, if you’re creating a multi-layer vinyl decal, you might use red for the background, blue for text, and green for decorative accents. In Illustrator, use the Layers Panel (Window > Layers) to organize your elements. Group related components together for easier manipulation and to ensure they remain aligned when imported into Cricut Design Space. Naming your layers can also save time later. For instance, label one layer “Background” and another “Text.” When uploading to Cricut Design Space, these layers will help you distinguish between different materials or colors, streamlining the cutting process.
5. Save as SVG
Saving your file in the correct format is one of the most crucial steps. Navigate to File > Save As, select SVG as the file format, and choose a location on your computer. The SVG options dialog box will appear. In this dialog, set the SVG Profile to SVG 1.1, which ensures compatibility with Cricut Design Space. Convert text to outlines to avoid font issues. For images, select the option to embed them rather than linking. Adjust the decimal places to 2; this setting controls the precision of the SVG paths and keeps the file size manageable. Uncheck the “Responsive” option to prevent scaling issues when importing into Cricut Design Space. After saving, open the file in a web browser to verify its appearance. This quick check helps you ensure that everything is in order before uploading it to Cricut.
6. Upload to Cricut Design Space
Once your SVG file is ready, open Cricut Design Space and start a new project. Click on Upload and then Upload Image. Select your SVG file from its saved location, and Cricut will display a preview of your design. Review the upload carefully to ensure all elements are intact and no paths are missing. Once satisfied, click Save, and the design will appear in your image library. From there, insert it onto the canvas. You can adjust the size, reposition elements, and make further edits as needed. If your design has multiple colors or layers, Cricut Design Space will automatically separate them, which is why it’s essential to have organized your file correctly during the design phase. This separation allows you to cut each material individually.
7. Prepare for Cutting
After inserting your design onto the Cricut canvas, take time to finalize its layout. Resize the design to fit your material, ensuring it’s not too large or small for the cutting mat. Assign materials to each color or layer within Cricut Design Space. For instance, assign blue to vinyl and red to cardstock. Use the Attach function in Cricut Design Space to keep elements aligned during the cutting process. If you’re working with multiple colors, Cricut will prompt you to load each material separately. Adjust your machine’s cut settings based on the material, such as setting the blade depth and pressure for intricate cuts on vinyl or thicker materials like chipboard. Conduct a test cut if you’re using a new material to ensure the settings are correct. Once satisfied, proceed to cut and watch your design come to life.


